Microneedling, a popular skincare procedure, has gained significant traction in recent years due to its potential to rejuvenate the skin, reduce the appearance of scars, fine lines, and wrinkles, and improve overall skin texture. Traditionally performed in dermatologist offices or medical spas, microneedling can now be conveniently done at home with the advent of microneedling pens. However, using a microneedling pen at home requires careful consideration and proper technique to ensure safety and effectiveness. Here are the top five tips for using a microneedling pen at home.

1. Understand the Basics of Microneedling
Before diving into the world of at-home microneedling, it's crucial to understand what the procedure entails and how it works. Microneedling, also known as collagen induction therapy, involves using a device equipped with tiny, fine needles to create controlled micro-injuries on the skin's surface. These micro-injuries trigger the body's natural healing process, stimulating the production of collagen and elastin.
Collagen is a protein that provides structure to the skin, keeping it firm and elastic. As we age, collagen production slows down, leading to sagging skin, wrinkles, and fine lines. By stimulating collagen production, microneedling helps to reverse these signs of aging, resulting in smoother, firmer, and more youthful-looking skin.
2. Choose the Right Microneedling Pen
With the growing popularity of at-home microneedling, the market is flooded with various microneedling pens. It's essential to choose a high-quality, FDA-approved device that is safe and effective. Look for a pen with adjustable needle lengths, as different areas of the face and body may require different needle depths.
A good microneedling pen should also be easy to handle and come with clear instructions on how to use it. Additionally, consider purchasing a pen that includes disposable needle cartridges to ensure hygiene and prevent the risk of infection.
3. Prepare Your Skin Properly
Proper skin preparation is key to achieving optimal results with at-home microneedling. Start by cleansing your skin thoroughly to remove any dirt, oil, or makeup. Use a gentle cleanser that won't strip the skin of its natural oils or cause irritation.
Next, apply a numbing cream to the area you plan to treat. Microneedling can be uncomfortable, especially for those with sensitive skin, so a numbing cream can help minimize discomfort during the procedure. Follow the instructions on the numbing cream carefully, and allow enough time for it to take effect before starting the microneedling process.
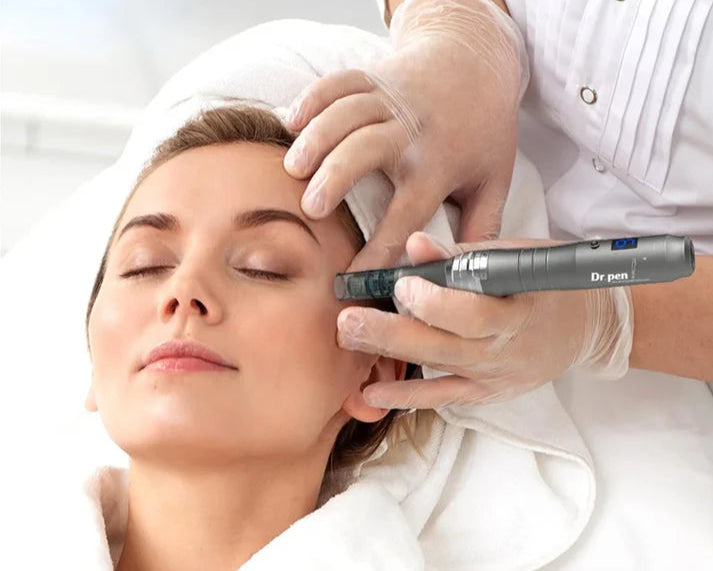
4. Technique Matters: How to Use the Microneedling Pen
Using a microneedling pen correctly is crucial to avoid injury and achieve the best results. Start by selecting the appropriate needle length for the area you're treating. Generally, shorter needles (0.5mm to 1.0mm) are suitable for the face, while longer needles (1.5mm to 2.0mm) may be used on the body, depending on the concern being addressed.
Begin the treatment by gliding the microneedling pen over the skin in a gentle, even motion. Apply light pressure and avoid pressing too hard, as this can cause excessive trauma to the skin. It's important to move the pen in one direction, rather than back and forth, to prevent tearing or damage to the skin.
Divide the treatment area into smaller sections and work on one section at a time. This approach ensures that each area receives adequate attention and helps prevent over-treating or missing spots. Complete the entire treatment in one session, and avoid going over the same area multiple times, as this can increase the risk of complications.
5. Post-Treatment Care is Essential
After completing the microneedling session, your skin will be red, sensitive, and possibly swollen. It's crucial to follow proper post-treatment care instructions to promote healing and minimize the risk of infection.
Start by applying a soothing, hydrating serum or moisturizer to the treated area. Look for products that contain ingredients like hyaluronic acid, aloe vera, or vitamin E, as these can help calm the skin and support the healing process. Avoid using harsh or irritating skincare products, as they can exacerbate redness and discomfort.
It's also important to protect your skin from the sun after microneedling, as the skin will be more sensitive to UV rays. Apply a broad-spectrum sunscreen with an SPF of at least 30 daily, and wear protective clothing, such as a wide-brimmed hat or sunglasses, when spending time outdoors.
In addition to skincare products, consider incorporating certain lifestyle habits to support skin healing. Stay hydrated by drinking plenty of water, eat a balanced diet rich in vitamins and minerals, and get adequate sleep to promote overall skin health.
Lastly, be patient with the results. While some individuals may notice improvements in their skin texture and appearance shortly after the treatment, it can take several weeks or even months for the full benefits of microneedling to become apparent. Consistency is key, so consider incorporating at-home microneedling into your skincare routine on a regular basis, following the recommended frequency for your skin type and concerns.
In conclusion, at-home microneedling can be a safe and effective way to improve your skin's appearance when done correctly. By understanding the basics of microneedling, choosing the right device, preparing your skin properly, using the correct technique, and following post-treatment care instructions, you can achieve smoother, firmer, and more radiant skin from the comfort of your own home. As always, if you have any concerns or questions about at-home microneedling, consult with a dermatologist or skincare professional for personalized advice and guidance.
Share:
How to Choose the Right Microneedling Pen for Your Skin Type
Can a Microneedling Pen Help with Acne Scars