Microneedling, a popular skincare procedure, involves using tiny needles to create controlled micro-injuries on the skin's surface. This process stimulates the body's natural healing response, promoting collagen production and skin rejuvenation. While microneedling is commonly performed on the face, it can also be highly beneficial for hard-to-reach areas such as the scalp, nose, ears, and even certain parts of the body like the back or hips. Using a microneedling pen for these areas requires precision, care, and a good understanding of the technique. Here’s a comprehensive guide on how to safely and effectively perform a microneedling pen treatment on hard-to-reach areas.

Understanding the Microneedling Pen
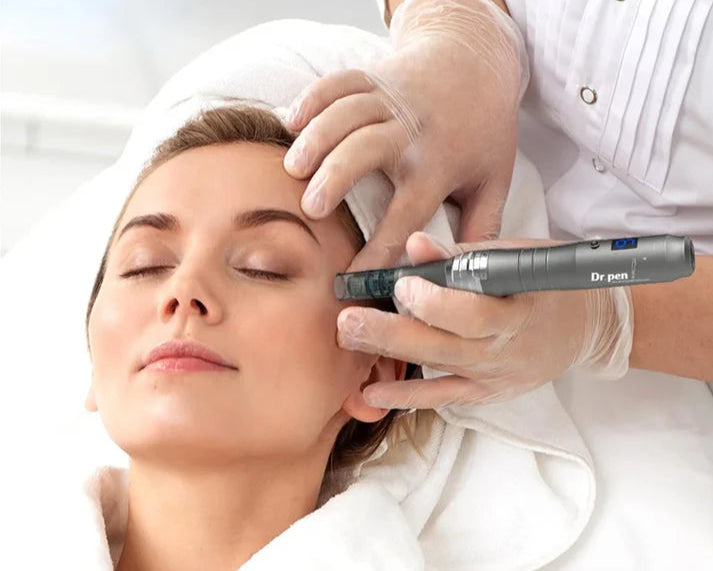
A microneedling pen is a handheld device equipped with fine needles that oscillate vertically when turned on. The depth of penetration can usually be adjusted, allowing for customization based on the area being treated and the desired results. Before diving into the treatment, it's crucial to familiarize yourself with the device, its settings, and safety features.
Preparation is Key
Consultation and Patch Test:
Although this is a general guide, it's essential to consult with a dermatologist or skincare professional before attempting microneedling, especially if you're new to the procedure or unsure about treating specific areas.
Perform a patch test on a less visible area of skin to check for any adverse reactions or sensitivity to the process.
Sanitization:
Ensure that all equipment, including the microneedling pen and any accessories, are thoroughly sterilized before use.
Wash your hands and the treatment area with a gentle cleanser and pat dry.
Numbing Cream:
For sensitive or hard-to-reach areas, applying a numbing cream can help minimize discomfort. Follow the instructions on the product carefully and allow enough time for it to take effect.
Choosing the Right Needle Length
The length of the needles will vary depending on the area being treated:
Scalp: Shorter needles (0.5mm to 1.0mm) are typically used due to the sensitivity and thickness of the scalp skin.
Nose and Ears: These areas also require shorter needles (0.5mm to 0.75mm) to avoid damaging delicate structures.
Body (e.g., back, hips): Longer needles (1.0mm to 2.0mm) may be appropriate, depending on the skin's thickness and the desired outcome.
Always start with the shortest needle length suitable for the area and gradually adjust if necessary, based on your comfort level and skin's response.
Technique for Hard-to-Reach Areas
Scalp Treatment
Sectioning the Hair:
Part your hair into small sections to expose the scalp areas you wish to treat. Secure these sections with clips or hair ties.
Application:
Hold the microneedling pen at a 45-degree angle to the scalp.
Use gentle, gliding motions, ensuring even coverage. Avoid applying too much pressure to prevent excessive trauma.
Focus on one section at a time, moving systematically across the scalp.
Avoiding Sensitive Spots:
Steer clear of areas with moles, wounds, or irritated skin.
Be cautious around the hairline and ears to avoid unnecessary discomfort or injury.
Nose and Ears
Precision is Crucial:
Due to the small and curved surfaces of the nose and ears, use the microneedling pen with extreme precision.
Opt for shorter needle lengths to minimize risk and discomfort.
Nose Treatment:
Gently glide the pen over the nose, avoiding the nostrils and the sensitive area directly around them.
Work in small, circular motions for even coverage.
Ear Treatment:
Treat the outer ear (pinna) with caution, focusing on the thicker skin areas.
Avoid the ear canal and any delicate parts.
Body Areas (Back, Hips, etc.)
Positioning:
For areas like the back, you may need assistance to reach all parts comfortably.
Use a mirror if treating areas you can't see directly.
Technique:
Apply the microneedling pen in smooth, even strokes.
Overlap each pass slightly to ensure consistent treatment without over-stimulating the skin.
Pressure Control:
Use light to moderate pressure, adjusting as needed based on your comfort level.
Be mindful of bony prominences and areas with less fat or muscle padding, as these may require lighter pressure.
Post-Treatment Care
Soothing the Skin:
After treatment, apply a soothing, hydrating serum or moisturizer to calm the skin.
Aloe vera gel can also provide relief from any post-treatment redness or irritation.
Sun Protection:
Microneedling makes the skin more sensitive to sunlight. Apply a broad-spectrum sunscreen with at least SPF 30 daily, even if the treated area is not typically exposed.
Avoid Irritants:
For the first few days post-treatment, avoid using harsh skincare products, exfoliants, or hot showers, which can irritate the skin.
Follow-Up Treatments:
Depending on your skin's response and your goals, you may need multiple sessions spaced several weeks apart. Follow a schedule recommended by a skincare professional.
Potential Risks and Precautions
While microneedling is generally safe, there are potential risks, especially when treating hard-to-reach or sensitive areas:
Infection: Ensure all equipment is sterile and avoid touching the treated area with unwashed hands.
Scarring: Improper technique or using needles that are too long can lead to scarring.
Pigmentation Changes: Some individuals may experience temporary changes in skin pigmentation.
Always prioritize safety and, when in doubt, seek guidance from a professional.
Conclusion
Performing a microneedling pen treatment on hard-to-reach areas requires patience, precision, and a thorough understanding of the procedure. By following the steps outlined above, you can safely and effectively target these areas for improved skin texture, reduced scarring, and a more youthful appearance. Remember, safety should always be your top priority, and consulting with a professional can provide personalized insights and ensure you achieve optimal results.
Share:
Microneedling Pen for Uneven Skin Texture: A Comprehensive Guide
Can a Microneedling Pen Help with Wrinkles and Fine Lines?