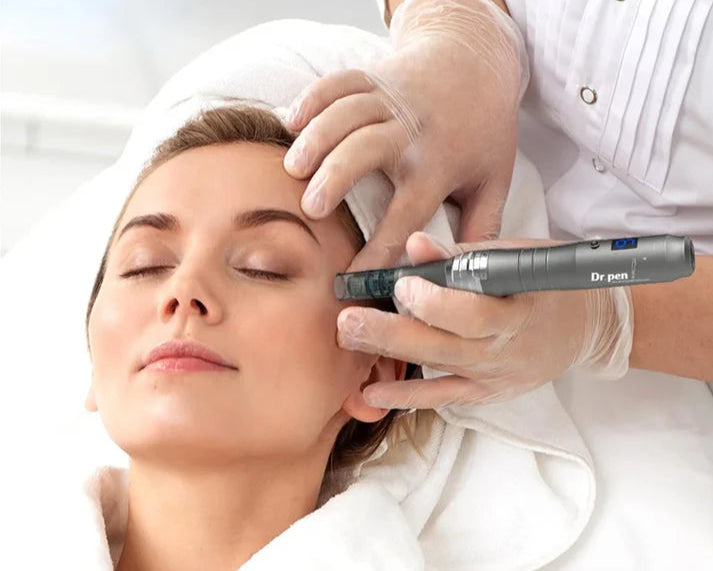
Microneedling, a popular skincare procedure, involves using a pen-like device equipped with tiny needles to create controlled micro-injuries on the skin's surface. This process stimulates collagen production and enhances skin rejuvenation, addressing issues like fine lines, wrinkles, scars, and pigmentation. A crucial aspect of maintaining the efficacy and safety of microneedling treatments lies in properly cleaning the microneedling pen after each use. Improper cleaning can lead to infections, skin irritations, and compromised treatment outcomes. Here’s a comprehensive guide on how to clean your microneedling pen properly.

Understanding the Importance of Cleaning
Before diving into the cleaning process, it’s essential to understand why cleaning your microneedling pen is vital. The needles on the pen come into direct contact with your skin and can easily pick up bacteria, dead skin cells, oils, and other impurities. If not cleaned thoroughly, these contaminants can be transferred back onto your skin during subsequent uses, leading to infections and other complications.
Moreover, a well-maintained microneedling pen ensures consistent performance and prolongs the lifespan of the device. Regular cleaning prevents the needles from becoming dull or damaged, which can affect the effectiveness of the treatment and potentially cause discomfort or injury.
Gather Your Supplies
To clean your microneedling pen properly, you’ll need a few essential supplies:
70% Isopropyl Alcohol: This is a powerful disinfectant that effectively kills bacteria and viruses.
Sterile Water: Used for rinsing the needles and ensuring no residue is left behind.
Clean, Lint-Free Cloths: These are gentle on the needles and won’t leave any fibers or debris.
A Small Container: For soaking the needle head if required.
Gloves: While optional, wearing gloves can provide an extra layer of protection and reduce the risk of contamination.
Step-by-Step Cleaning Process
Now that you have your supplies ready, let’s walk through the step-by-step process of cleaning your microneedling pen:
1. Unplug the Device
Safety first! Always unplug the microneedling pen before starting the cleaning process to avoid any electrical hazards.
2. Disassemble the Pen
Carefully disassemble the pen according to the manufacturer’s instructions. This usually involves removing the needle cartridge or head from the main body of the pen.
3. Rinse with Sterile Water
Begin by rinsing the needle head under sterile water to remove any initial debris or blood. Use a gentle stream of water to avoid bending or damaging the needles.
4. Soak in Isopropyl Alcohol
Place the needle head in a small container filled with 70% isopropyl alcohol. Ensure the needles are fully submerged and let them soak for at least 10 minutes. This will disinfect the needles and kill any bacteria or viruses present.
5. Scrub with a Lint-Free Cloth
After soaking, use a clean, lint-free cloth to gently scrub the needle head. Pay extra attention to the area around the needles where debris can accumulate. This step helps remove any stubborn residue that the alcohol might not have dislodged on its own.
6. Rinse Again with Sterile Water
Once you’ve scrubbed the needle head, rinse it again under sterile water to remove any alcohol or debris. Make sure to rinse thoroughly to avoid any residual alcohol irritating your skin during future treatments.
7. Dry the Needle Head
Using another clean, lint-free cloth, gently pat the needle head dry. Avoid wiping the needles vigorously as this can bend or break them. Ensure the needle head is completely dry before reassembling the pen.
8. Clean the Main Body of the Pen
While the needle head is the most critical part to clean, don’t neglect the main body of the pen. Use a damp lint-free cloth with a small amount of isopropyl alcohol to wipe down the exterior of the pen. This will remove any fingerprints, dust, or other contaminants.
9. Reassemble the Pen
Once everything is clean and dry, reassemble the microneedling pen according to the manufacturer’s instructions. Ensure all parts are securely in place before storing the pen.
Storage Tips
Proper storage is just as important as cleaning when it comes to maintaining your microneedling pen. Here are some tips:
Store in a Clean, Dry Place: Keep your microneedling pen in a clean, dry environment away from direct sunlight and moisture.
Use a Protective Case: If possible, store the pen in a protective case to prevent dust and debris from settling on it.
Keep Out of Reach of Children: Ensure the pen is stored in a place where children cannot access it to avoid any accidents.
Regular Maintenance
Cleaning your microneedling pen after each use is crucial, but regular maintenance can also help keep it in top condition. Here are a few additional tips:
Inspect the Needles: Before each use, inspect the needles for any signs of damage or dullness. Replace the needle cartridge if necessary.
Check for Debris: Occasionally check the pen for any debris or residue that might have accumulated in hard-to-reach areas. Use a cotton swab dipped in isopropyl alcohol to clean these areas if needed.
Follow Manufacturer’s Guidelines: Always refer to the manufacturer’s guidelines for specific cleaning and maintenance instructions for your microneedling pen.
Conclusion
Properly cleaning your microneedling pen is essential for maintaining its effectiveness, ensuring your safety, and preventing infections. By following the step-by-step cleaning process outlined above and adhering to regular maintenance practices, you can enjoy the benefits of microneedling without any unnecessary risks. Remember, a well-cared-for microneedling pen is a key to achieving healthy, radiant skin. So, take the time to clean and maintain your pen properly, and your skin will thank you for it!
Share:
How to Use Microneedling Pen Correctly
Can Microneedling Pen Help with Skin Laxity