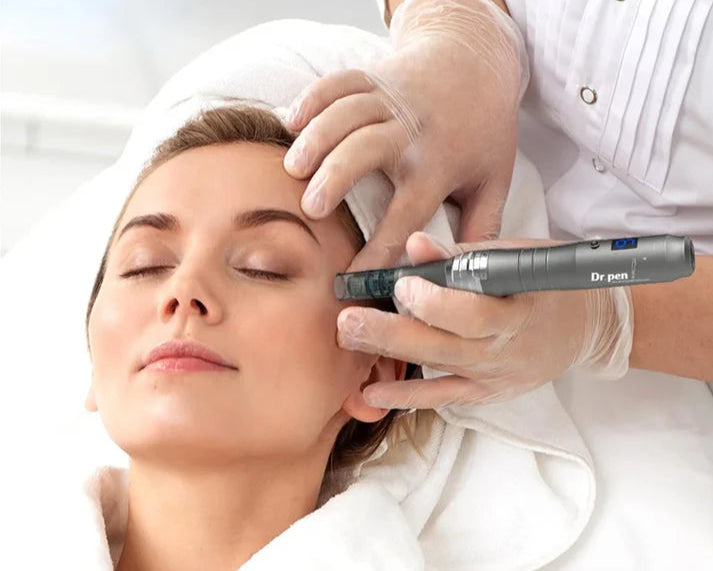
Microneedling, a popular skincare procedure, involves using a pen-like device equipped with tiny needles to create controlled micro-injuries on the skin's surface. This process stimulates collagen production and promotes skin rejuvenation, addressing issues such as fine lines, wrinkles, scars, and pigmentation. To ensure the effectiveness and safety of your microneedling treatments, it is crucial to clean and maintain your microneedling pen properly. Here's a comprehensive guide on how to do it.

Understanding the Importance of Cleaning and Maintenance
Before diving into the cleaning and maintenance routine, it's essential to understand why it's so important. Microneedling pens come into direct contact with your skin, making them susceptible to bacteria, skin cells, and other contaminants. Improper cleaning can lead to infections, skin irritation, and even more severe complications. Furthermore, well-maintained equipment ensures better performance and longer lifespan of your microneedling pen.
Gather Your Supplies
To clean and maintain your microneedling pen effectively, you'll need a few essential supplies:
70% Isopropyl Alcohol: This is a powerful disinfectant that effectively kills bacteria and other microorganisms.
Sterile Saline Solution: Used for rinsing the needles and the device, it helps remove any debris or residue.
Clean, Soft Cloths or Cotton Swabs: These are gentle on the device and help in precise cleaning.
A Container for Soaking: A small bowl or cup will suffice for soaking the needle cartridge in alcohol.
Gloves: Disposable latex or nitrile gloves to protect your hands and maintain sterility.
Step-by-Step Cleaning Process
1. Preparation
Begin by ensuring your workspace is clean and free from any dust or debris. Wash your hands thoroughly with soap and water, then put on a pair of disposable gloves. This step is crucial to prevent cross-contamination.
2. Disassemble the Pen
Carefully disassemble the microneedling pen according to the manufacturer's instructions. This usually involves removing the needle cartridge and any other detachable parts.
3. Soak the Needle Cartridge
Place the needle cartridge in a container filled with 70% isopropyl alcohol. Ensure it is fully submerged and let it soak for at least 10 minutes. This will disinfect the needles and kill any bacteria or germs present.
4. Clean the Pen Body
While the needle cartridge is soaking, use a clean, soft cloth or cotton swab dipped in 70% isopropyl alcohol to wipe down the body of the microneedling pen. Pay close attention to any crevices or buttons where dirt and bacteria might accumulate.
5. Rinse the Needle Cartridge
After soaking, remove the needle cartridge from the alcohol and rinse it thoroughly with sterile saline solution. This step helps remove any alcohol residue and prepares the cartridge for storage or immediate use.
6. Dry the Components
Use a clean, dry cloth or allow the components to air dry. Ensure they are completely dry before reassembling the pen to prevent any moisture-related issues.
7. Reassemble the Pen
Once all parts are dry, reassemble the microneedling pen following the manufacturer's guidelines. Make sure all parts are securely in place to ensure proper functionality.
Maintenance Tips
Cleaning your microneedling pen after each use is vital, but regular maintenance can further enhance its lifespan and performance. Here are some additional tips:
Inspect the Needles: Before and after each use, inspect the needles for any signs of dullness or damage. Dull or bent needles can be less effective and more painful, so replace the cartridge as needed.
Store Properly: When not in use, store your microneedling pen in a clean, dry place, preferably in a protective case. Avoid exposing it to direct sunlight or extreme temperatures, as this can damage the device.
Follow Manufacturer's Guidelines: Always refer to the manufacturer's instructions for specific cleaning, maintenance, and usage recommendations. Different models may have unique requirements.
Avoid Sharing: For hygiene and safety reasons, never share your microneedling pen with others. This practice can spread infections and compromise the effectiveness of the treatment.
Additional Considerations
Skin Preparation: Prior to microneedling, ensure your skin is clean and free from any makeup, lotions, or oils. This will help prevent clogging of the needles and ensure better results.
Disinfect Skin: Use a mild disinfectant or antiseptic solution to clean the area of skin you plan to treat. This step helps reduce the risk of infection.
Pain Management: Microneedling can be uncomfortable for some individuals. Consider applying a numbing cream to the treatment area before starting, especially if you have sensitive skin.
Post-Treatment Care: After microneedling, your skin may be red and slightly swollen. Apply a soothing moisturizer or aloe vera gel to calm the skin and promote healing. Avoid exposure to direct sunlight and use a broad-spectrum sunscreen to protect your skin from UV damage.
Conclusion
Proper cleaning and maintenance of your microneedling pen are essential for safe and effective treatments. By following the steps outlined in this guide and adhering to the manufacturer's recommendations, you can ensure your microneedling pen remains in optimal condition, providing you with the best possible results. Remember, always prioritize hygiene and safety when performing any skincare procedures at home. With the right care, your microneedling pen can be a valuable tool in your skincare routine, helping you achieve a smoother, more youthful complexion.
Share:
How to Use a Microneedling Pen for Scar Reduction
Can a Microneedling Pen Help with Cystic Acne