Microneedling, a popular skincare procedure, has gained significant attention in recent years for its ability to rejuvenate the skin and address various concerns such as fine lines, wrinkles, scars, and pigmentation. This minimally invasive technique involves using a device equipped with tiny needles to create controlled micro-injuries on the skin's surface. As the skin heals from these micro-injuries, it produces collagen and elastin, leading to improved texture, tone, and firmness.

One of the essential tools in microneedling is the microneedling pen. This handheld device allows for precise control over the needling process, making it a favorite among skincare professionals and at-home users alike. However, to achieve optimal results, it's crucial to calibrate your microneedling pen correctly. Improper calibration can lead to ineffective treatments or, worse, skin damage. In this comprehensive guide, we'll walk you through the steps to calibrate your microneedling pen for the best results.
Understanding the Microneedling Pen
Before we dive into the calibration process, it's essential to understand the basic components and functionality of a microneedling pen. A typical microneedling pen consists of a handle, a needle cartridge, and a motor that powers the needles' up-and-down movement. The needle cartridge contains a series of fine needles that penetrate the skin at adjustable depths.
Most microneedling pens come with variable speed settings and needle depths, allowing you to customize the treatment according to your skin's needs and tolerance level. It's crucial to choose the right needle length and speed to target specific skin concerns without causing undue harm.
Preparing for Calibration
Before you begin the calibration process, ensure you have all the necessary supplies:
Sterile needle cartridges (appropriate for your skin type and concern)
Alcohol wipes or a disinfectant solution
Gloves (for hygiene purposes)
A mirror (to observe the needling process)
A numbing cream (optional, for added comfort)
Step-by-Step Calibration Process
Step 1: Clean and Disinfect
Start by cleaning and disinfecting your microneedling pen and needle cartridge. Use an alcohol wipe or a disinfectant solution to thoroughly clean all surfaces that will come into contact with your skin. This step is crucial to prevent infections and ensure a safe treatment.
Step 2: Choose the Right Needle Length
The needle length determines the depth of penetration, which varies depending on the skin concern you're addressing. For example:
0.25mm to 0.5mm: Suitable for superficial skin concerns like fine lines, mild pigmentation, and texture improvement.
0.5mm to 1.0mm: Effective for moderate concerns such as deeper wrinkles, acne scars, and stretch marks.
1.0mm to 2.0mm: Best for severe skin issues like deep scars, but should only be used by professionals due to the higher risk of complications.
Always start with the shortest needle length that addresses your concern and gradually increase if necessary.
Step 3: Adjust the Speed Setting
The speed setting controls how quickly the needles move up and down. A slower speed allows for more controlled and precise needling, while a faster speed covers a larger area quickly. The ideal speed depends on your comfort level and the area being treated.
For sensitive areas like the face, a slower speed is recommended.
For larger body parts like the thighs or abdomen, a faster speed may be more efficient.
Refer to your microneedling pen's user manual for specific speed settings and guidelines.
Step 4: Test the Pen
Before applying the pen to your skin, it's essential to test it on a piece of paper or a similar surface. This step helps you get a feel for the needling process and ensures the pen is functioning correctly. Pay attention to the needle's penetration depth and the speed of the motion.
Step 5: Prepare Your Skin
Cleanse your skin thoroughly and remove any makeup or oils. If you're using a numbing cream, apply it to the treatment area as directed and wait for it to take effect. This step helps minimize discomfort during the procedure.
Step 6: Begin the Treatment
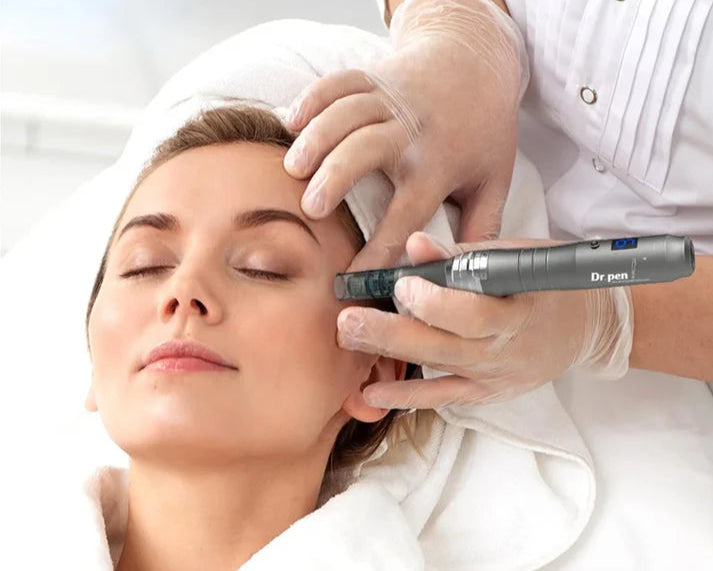
With your gloves on, hold the microneedling pen at a 90-degree angle to your skin. Start with the lowest needle length and speed setting, and gradually increase if needed. Apply gentle, even pressure as you move the pen over the treatment area in a circular or linear motion.
Avoid over-needling or applying too much pressure, as this can cause unnecessary trauma to the skin.
Focus on one small area at a time to ensure even coverage.
Use a mirror to observe the needling process and ensure proper technique.
Step 7: Monitor Your Skin's Response
Throughout the treatment, pay close attention to your skin's response. You may experience mild redness, swelling, or pinpoint bleeding, which is normal. However, if you notice excessive bleeding, severe pain, or any other unusual symptoms, stop the treatment immediately and consult a professional.
Post-Treatment Care
After completing the microneedling session, follow these post-treatment care tips to promote healing and maximize results:
Apply a soothing, hydrating serum or moisturizer to the treated area.
Avoid using harsh skincare products or exfoliants for at least a week.
Protect your skin from sun exposure by wearing SPF 30 or higher.
Avoid touching or picking at the treated area to prevent infection.
Calibrating your microneedling pen correctly is essential for achieving optimal results and minimizing the risk of complications. By following the steps outlined in this guide, you can ensure a safe, effective, and personalized microneedling experience. Remember to start with the shortest needle length and slowest speed, gradually increasing as needed. Always monitor your skin's response and follow post-treatment care instructions to promote healing and maximize results. With proper calibration and care, microneedling can be a valuable addition to your skincare routine, helping you achieve a smoother, more youthful complexion.
Share:
The Science Behind Microneedling Pen Technology
Microneedling Pen Tips and Techniques for Optimal Performance